Woodworker's Journal 2004 Summer, страница 36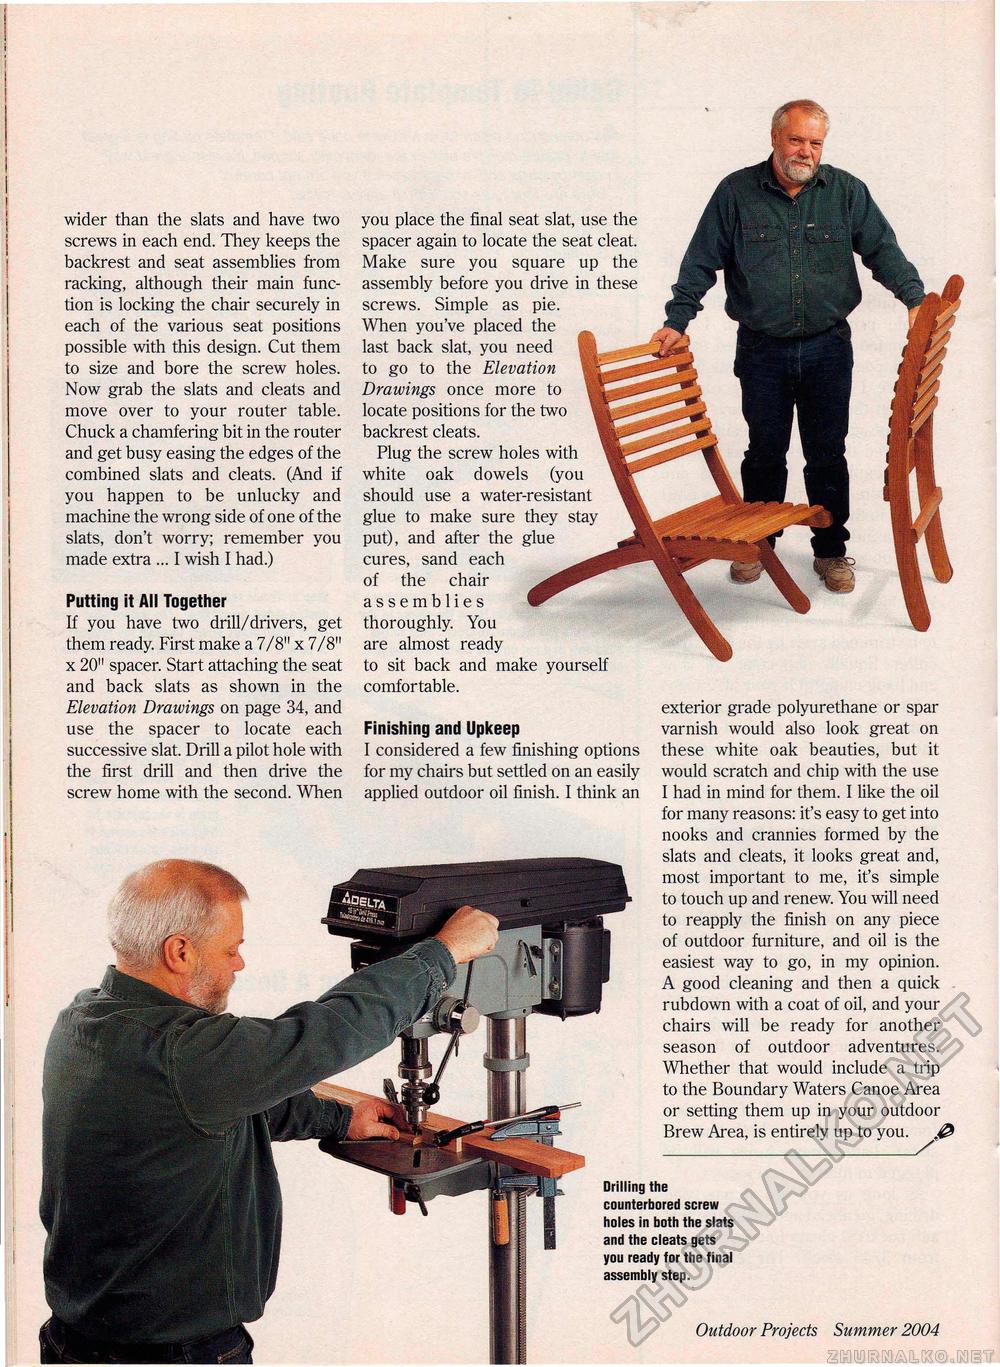
wider than the slats and have two screws in each end. They keeps the backrest and seat assemblies from racking, although their main function is locking the chair securely in each of the various seat positions possible with this design. Cut them to size and bore the screw holes. Now grab the slats and cleats and move over to your router table. Chuck a chamfering bit in the router and get busy easing the edges of the combined slats and cleats. (And if you happen to be unlucky and machine the wrong side of one of the slats, don't worry; remember you made extra ... I wish I had.) Drilling the counterbored screw holes in both the slats and the cleats gets you ready for the final assembly step. Putting it All Together If you have two drill/drivers, get them ready. First make a 7/8" x 7/8" x 20" spacer. Start attaching the seat and back slats as shown in the Elevation Drawings on page 34, and use the spacer to locate each successive slat. Drill a pilot hole with the first drill and then drive the screw home with the second. When you place the final seat slat, use the spacer again to locate the seat cleat. Make sure you square up the assembly before you drive in these screws. Simple as pie. When you've placed the last back slat, you need to go to the Elevation Drawings once more to locate positions for the two backrest cleats. Plug the screw holes with white oak dowels (you should use a water-resistant glue to make sure they stay put), and after the glue cures, sand each of the chair assemblies thoroughly. You are almost ready to sit back and make yourself comfortable. Finishing and Upkeep I considered a few finishing options for my chairs but settled on an easily applied outdoor oil finish. I think an exterior grade polyurethane or spar varnish would also look great on these white oak beauties, but it would scratch and chip with the use I had in mind for them. I like the oil for many reasons: it's easy to get into nooks and crannies formed by the slats and cleats, it looks great and, most important to me, it's simple to touch up and renew. You will need to reapply the finish on any piece of outdoor furniture, and oil is the easiest way to go, in my opinion. A good cleaning and then a quick rubdown with a coat of oil, and your chairs will be ready for another season of outdoor adventures. Whether that would include a trip to the Boundary Waters Canoe Area or setting them up in your outdoor Brew Area, is entirely up to you. 36 Outdoor Projects Summer 2004 £ |


